|
Home > Website Administration > Website Pages > Custom Pages > Widgets > Adding a Widget
Adding a Widget
To add a widget
- Navigate to
the page in your website where you want to add the widget.
- Select
Edit Page in the Administrator's Toolbar.
- A tabbed menu with options for Page
Settings, Meta Tags, Add Widget and Column Settings is displayed at the
top of the page that you are editing.
Click the Add Widget
tab.
- The Widgets editor is displayed.

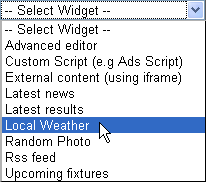
- Select
the widget that you would like to add in the dropdown menu

- and
click the "Add Widget"
 button.
- The selected widget is added to the first
column in the body of your page. It is loaded in editing mode so that
you can customise the settings.

- If
you are using more than one column, you can move the widget to a
different column. Position your mouse cursor over the widget's title bar
and holding down your left mouse button, drag the widget to the desired
location.
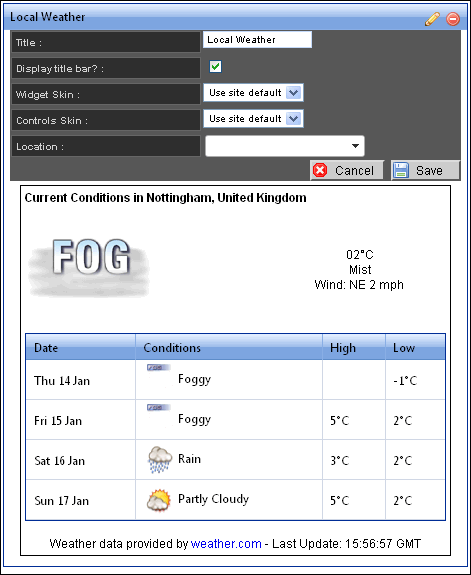
- Edit the widget settings to your
requirements.
Each widget has its own set of features - see the
help pages for individual widgets for more information.
The
standard settings that you can change for many of the widgets are:
Title
- the text that appears in the bar at the top of the widget. Enter the
title that you want to use.
Display Title Bar - uncheck
the box if you don't want to display the Title Bar
Widget Skin
- you can change the appearance of the container for the widget
by selecting a skin from the dropdown menu.
Controls Skin -
you can change the appearance of the content of the widget by
selecting a skin from the dropdown menu.
- Click the
"Save" button
 to
save your changes. to
save your changes.
See
also
|