|
Home > Website Administration > Website Pages > System Pages > Locations > Adding a Location
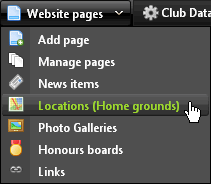
Adding a Location - Select Locations (Home grounds) from the Web Pages menu in the
Administration toolbar at the top of the page.
- The Locations window is displayed.
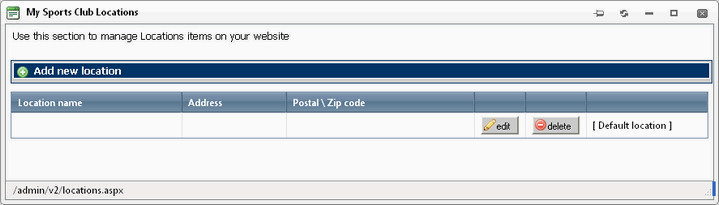
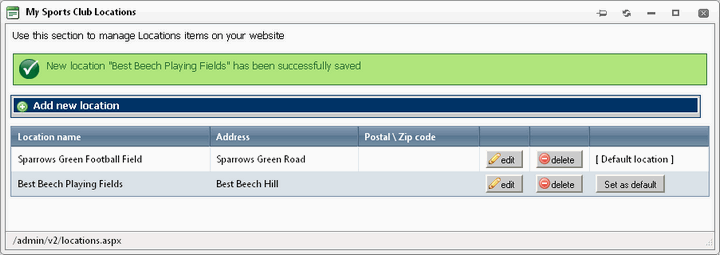
- Click "Add new location"

- The Location form is displayed. Fill in the information about your new location:
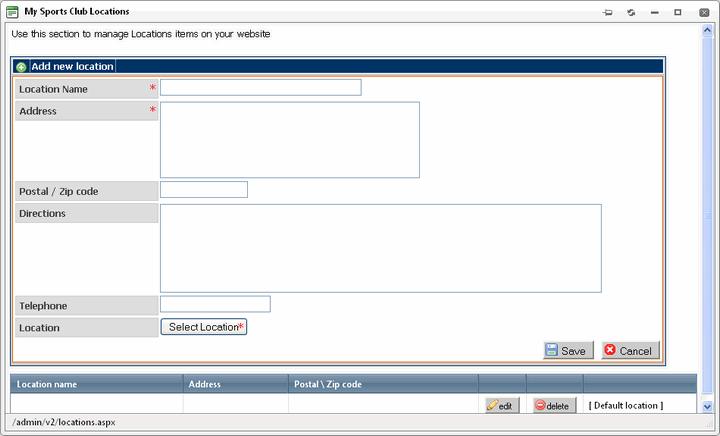
Location Name (mandatory) - Enter a name for the location. This text will be used as the name of the location on your website.
Address (mandatory) - Enter the address of the location.
Postal / Zip code - Enter the zip or postcode.
Directions - If you wish, you can enter your own directions.
Telephone - Enter a telephone number.
Location (mandatory) - Enter the geographical location:
i) Click the "Select Location"  button. button.
ii) The Find Location dialogue box is displayed.
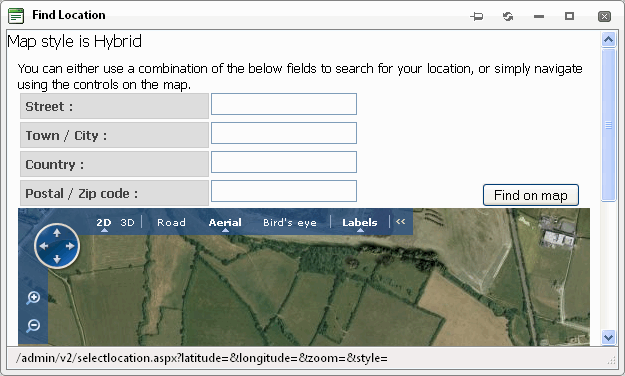
Enter the address details directly into the form and/or use the controls on the map:
- Type address information into one or more fields in the form
- Click the "Find on map" button

- Use the navigation controls to find the exact location:
 Move up, down, left or right Move up, down, left or right
 Zoom in Zoom in
 Zoom out Zoom out
- When you have found the location, click on the map to place the marker at your chosen location
- Click the "Use this location" button
 to select the location to select the location
- The "Find Location" window is closed and the Latitude and Longitude are displayed in the Location field
- Click the Save button

- The new location is shown in the Location list. To make it your default location see Setting Your Default Location
See also
|