|
Home > Website Administration > Website Pages > System Pages > Photo Galleries > Adding a Photo Gallery
Adding a Photo Gallery
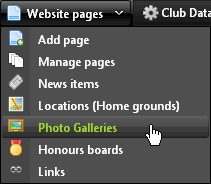
- Select Photo Galleries from the Web Pages menu in
the
Administration toolbar at the top of the page.
- The Photo Gallery window is displayed.
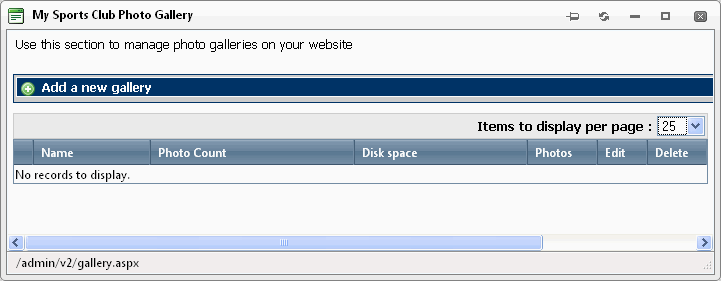
- Click "Add a new gallery"

- The Photo Gallery form is displayed. Fill in the details for your new gallery:
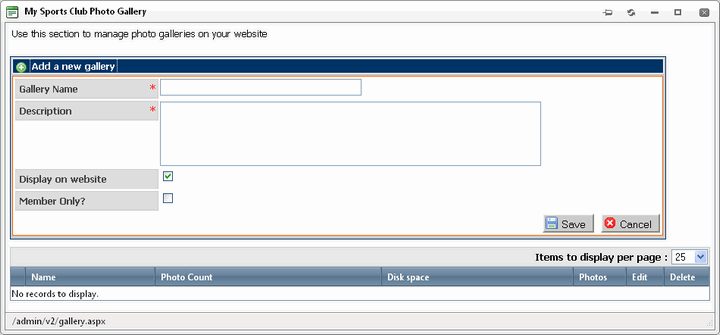
Gallery Name (mandatory) - Enter a name for the gallery. It will be used as the text for the link to the gallery in your website.
Description
(mandatory) - Enter a description of the content of the gallery. This
will be used as the gallery's description in the Photo Galleries page
of your website.
Display on website - check this box if you want the gallery to be displayed in your website.
Member Only? - check this box to allow only logged-in members to view the gallery
- Click the Save button

- The new gallery is shown in the Photo Gallery list.
When you have added a new gallery you will want to start adding content. Follow the instructions below to add your photos and/or video clips.
How To Add Your Photos and Videos
- Navigate to the Photo Galleries section of your website.
- Select "Edit Photo Galleries"
 in the Administrator's Toolbar. in the Administrator's Toolbar.
- The Photo Gallery window is displayed.
- Click the "Photos" button
 for the photo gallery that you want to manage. for the photo gallery that you want to manage.
- The Manage Photos window is displayed.

To upload a photo or video
i) Click the "Click to upload photos/videos" button

ii) Select the files on your local drive that you want to upload.
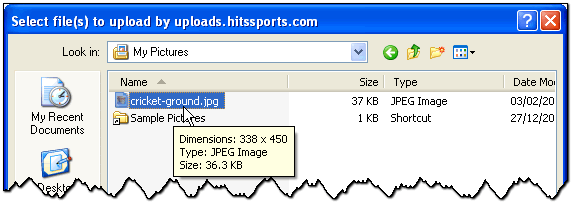
Tip: Hold down the <Ctrl> key and left-click to select more than one image file in the list.
iii)
A thumbnail of the image is displayed, together with the filename and a
message confirming that the file has been uploaded.
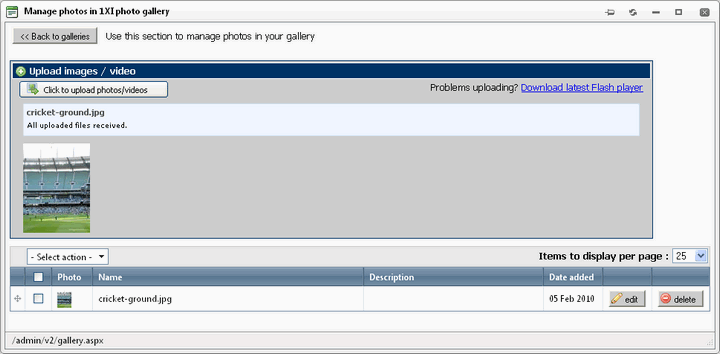
To edit a photo or video
i) In the Manage Photos window Click the "Edit" button  for the photo that you want to edit. for the photo that you want to edit.
ii) Edit the fields as required.
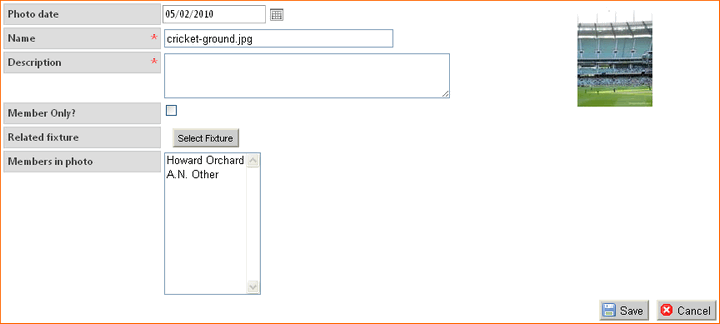
Photo date - Enter the date that the photo was taken (the upload date is shown by default).
Tip: Click the icon  to open the calendar pop-up. to open the calendar pop-up.
Name
(mandatory) - Enter a name for the photo. This will be shown if the
photo cannot be displayed and it is used by search engines.
Description (mandatory) - Enter a description of the photo. This will be used as the caption.
Related fixture - Click the button to open a dialogue box that allows you to select a fixture that the photo is related to.
Members in photo - Select the members who are shown in the photo:
- Click
inside the input box to bring up a list of members in a pop-up box. As
you type more letters, the names will be filtered.
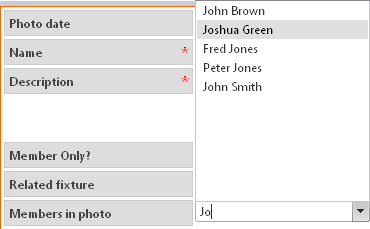
- Click
a name to add the member to the photo.
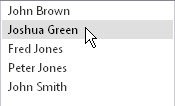
- The
member is added to the photo and appears below the Members in photo input
box.

- Repeat
the steps above to add additional members who are in the photo.
To remove all
members that you have selected:
- Click the "Clear all" button

To remove individual members:
- Click
the name of the member who you want to clear

- Click OK to confirm that you want to delete the member from the list of selected members.
To reorder photos or videos
i) Move your mouse cursor to the first column of a photo that you would like to move
ii) Holding down your left mouse button, drag the photo up or down the list.
To delete photos or videos
Either:
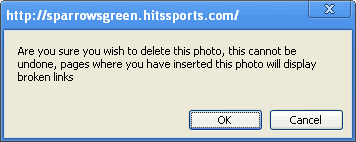
i) Click the "Delete" button for the photo that you want to delete.
ii) Click "OK" to confirm the deletion.
Or:
i) Check the checkboxes for the photos that you want to delete.
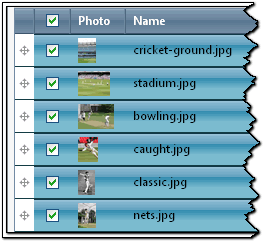
ii) Select Delete in the Select action dropdown box.

iii) Click OK to confirm the deletion.
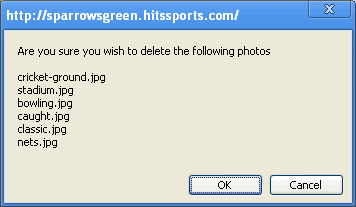
Note: You can't undo a deletion and any pages displaying the photo or video on your website will be broken.
See also
|